
NOTICE: This review was written and posted before numerous firmware updates which have added x4 (960p) and x5 (1080p) scaling amongst other features. As such, please bear in mind some information such as the 720p limitation is outdated and no longer accurate. I’ll be updating this in due time.
For a long time now, I’ve been looking for the perfect way to play my retro games consoles. Despite their age, I still find myself using my SNES, Sega, N64, et al, more than the tech of today – which is why it was such a shock when I first plugged them into an HDTV and realised that they looked terrible.
When plugged into a modern display, 240p devices (retro consoles) are displayed inaccurately if the TV recognises the signal at all, with horrible scaling and often de-interlacing when not needed. And not only that, they felt terrible too due to significant input lag. Being in the UK, we’re a bit fortunate that even today our televisions accept RGB SCART which gives us an edge over composite/RF – but it doesn’t help much.
Being a bit of an obsessive when it comes to accuracy, I’ve never quite been satisfied with emulation for various reasons (accuracy, input lag, form), so going back to the original hardware was always a must. So what could be done? Firstly, I made sure my consoles were all 60hz/NTSC and that they were RGB compatible.
It took a lot of work. Some consoles came ready out of the box for RGB (Saturn, Mega Drive, PS1), others needed an amp installed (Super Famicom/SNES Mini, N64) and the NES/Famicom required a custom board to be fitted in place of existing hardware (which took a lot of effort to install, but was worth it and saved me £200). I did buy a JVC CRT Broadcast Monitor which was fantastic – but it was expensive, and ultimately stopped working – which was a shame. It did cement the idea that I had to move on from the trusty CRT – but how?
If you have retro hardware, and you want to display your tech on a modern TV, what are the options?
- Hook up directly to your HDTV. Don’t do this.
- Buy a cheap scart to HDMI scaler from amazon. Don’t do this.
- Buy a dedicated upscaler such as the Framemeister
I’m not going to go into detail on the XRGB Framemeister here, as it’s been fully covered elsewhere but I did own one previously – and I had some issues:
- Noticeable input lag
- Inaccurate colours and brightness (especially with megadrive)
- Sync issues with my Super Famicom Jr (had to mess with sync settings each time to get it working)
- Mind bogglingly complicated menu system and remote
- Resolution switches mid-game cripple the system, and result in up to 5 seconds of blackouts. Makes numerous games unplayable.
- Expensive – cost me near £300 to import, but luckily made it back on resell.
Ultimately, I found the framemeister to be frustrating. Luckily, I had a place on the waiting list for the OSSC (Open Source Scan Converter), and my chance to buy it came up in November after around six months of waiting. The final price with a remote and power supply was a mere £160, and it arrived within one business day.
THE OSSC

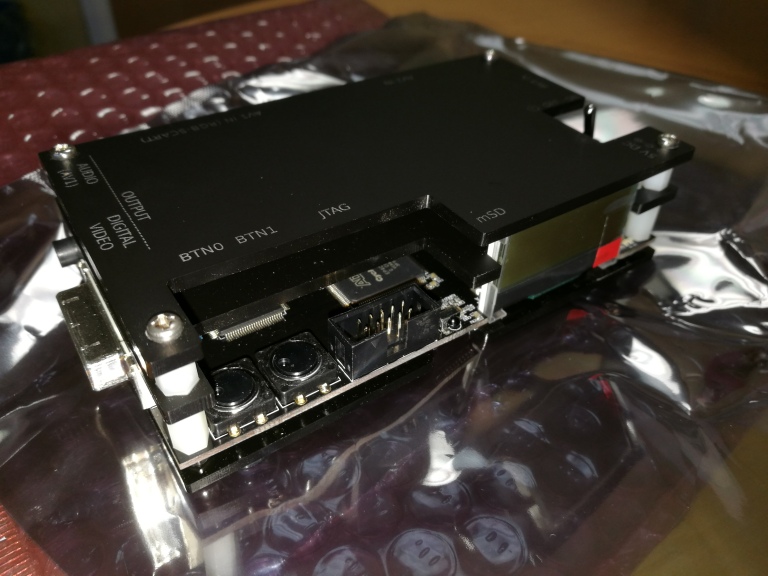
Developed by the ground up by Marqs and put together by hand and sold via Videogame Perfection, the OSSC is a device very similar to the Framemeister in purpose, but with a vastly different method and (in my opinion) vastly superior results.
The OSSC is not an upscaler, as such. The way that the Framemeister and other scalers work is by rendering and upscaling each frame to 720p or 1080p one by one. While this ensures uniform results and compatibility for each display, it also brings unavoidable input lag – a frame and a half minimum. While this may not seem much, it wasn’t good enough for me and nor should it be good enough for you either.
The OSSC is a line doubler/tripler. It takes the source image from one of its various inputs, and throws the image directly to the display scanline by scanline, either doubling or tripling it as it goes. There’s zero frame buffer, and therefore zero lag. Any input lag you get with the OSSC is purely the fault of the television or display used. Pick your display wisely, and you’re getting the closest experience to a CRT possible. I purposely picked my current set (a 55″ 2015 LG LED 1080p) due to its minimal input lag, and the OSSC is simply a revelation. Leaps and bounds above the Framemeister, and significantly better than any emulator I’ve tried. I can fly through Donkey Kong Country 2 without missing a step, and every input feels just like on a CRT. It’s fantastic.
With regards to colour, the OSSC works in a pure RGB colour-space. What it receives is what it displays, which is at odds to how the Framemeister converts the input to YPBPR and back again (why?!). Either way, it’s incredible – colours are accurate, the black levels are perfect, and the whites are pure. Again, it’s down to your TV as to how accurate it is – the OSSC gives you exactly what the console outputs.
I’ve tested the OSSC (on the newest firmware) with the following consoles:
Hooked up via RGB SCART cables through two HAMA switches with phono audio breakout:
- Super Famicom Jr – RGB modded with an amp, composite sync
- Mega Drive 1 Asian Console – C-Sync
- Sega Saturn Japanese – Composite Sync
- N64 Japanese – RGB Modded with an amp – Composite Sync
- PSOne PAL – chipped to play 60hz/USA/JP games – Composite Sync
- Famicom AV (NES Top Loader) – RGB modded with NESRGB board – Composite Sync

Hooked up directly to the OSSC:
- XBOX – modded to enable region free and up to 720p output. Connected via Component
- Dreamcast – Connected via VGA
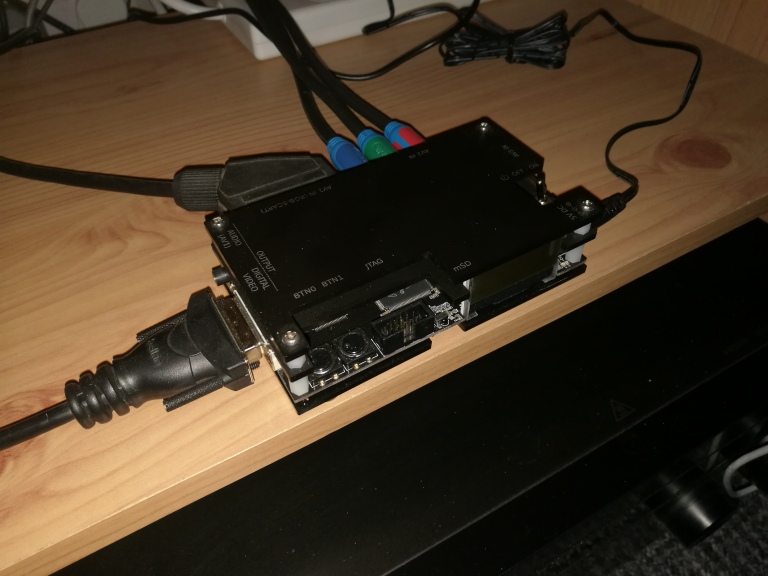
The OSSC is connected up via a DVI to HDMI adapter to my Sony STR-DH550 5.1 surround amp and fed to my 55″ LG HDTV. The pre-built OSSC does not contain an HDMI connection, so audio is analog only via a 3.5mm jack. You can hook up the audio through that, but I had to use other combinations due to my setup (my Super Famicom, for example, bypasses it all due to it having a digital audio circuit installed with optical output).
First things first, as I explained above…
The results you get depend on your display. What works for me, may not work for you. What works for you may not work for someone else. If you have a PC monitor that handles multiple resolutions and timings, you’re fine. If you have a TV for a display, you need to be lucky.
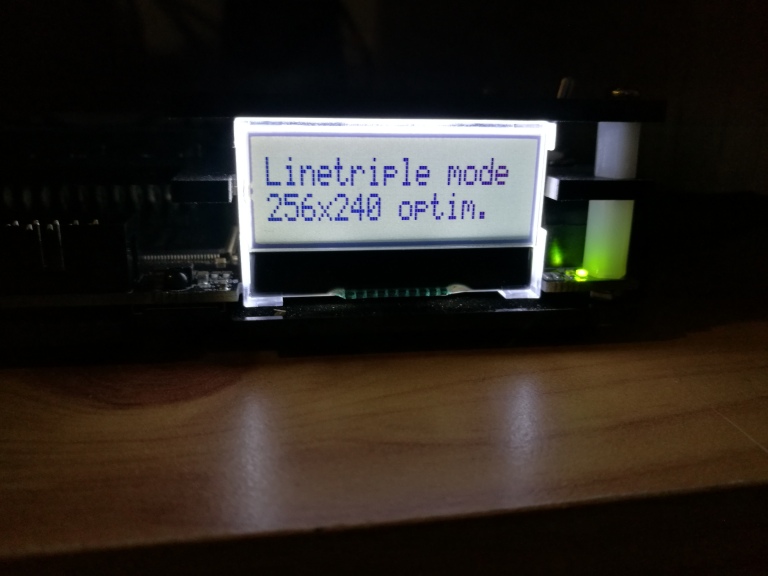
On setting up the hardware and turning it on, the first thing I checked was if line triple mode worked on my display. If it worked I would get a glorious 720p image. If not, I’d have to stick to line double mode (480p)…
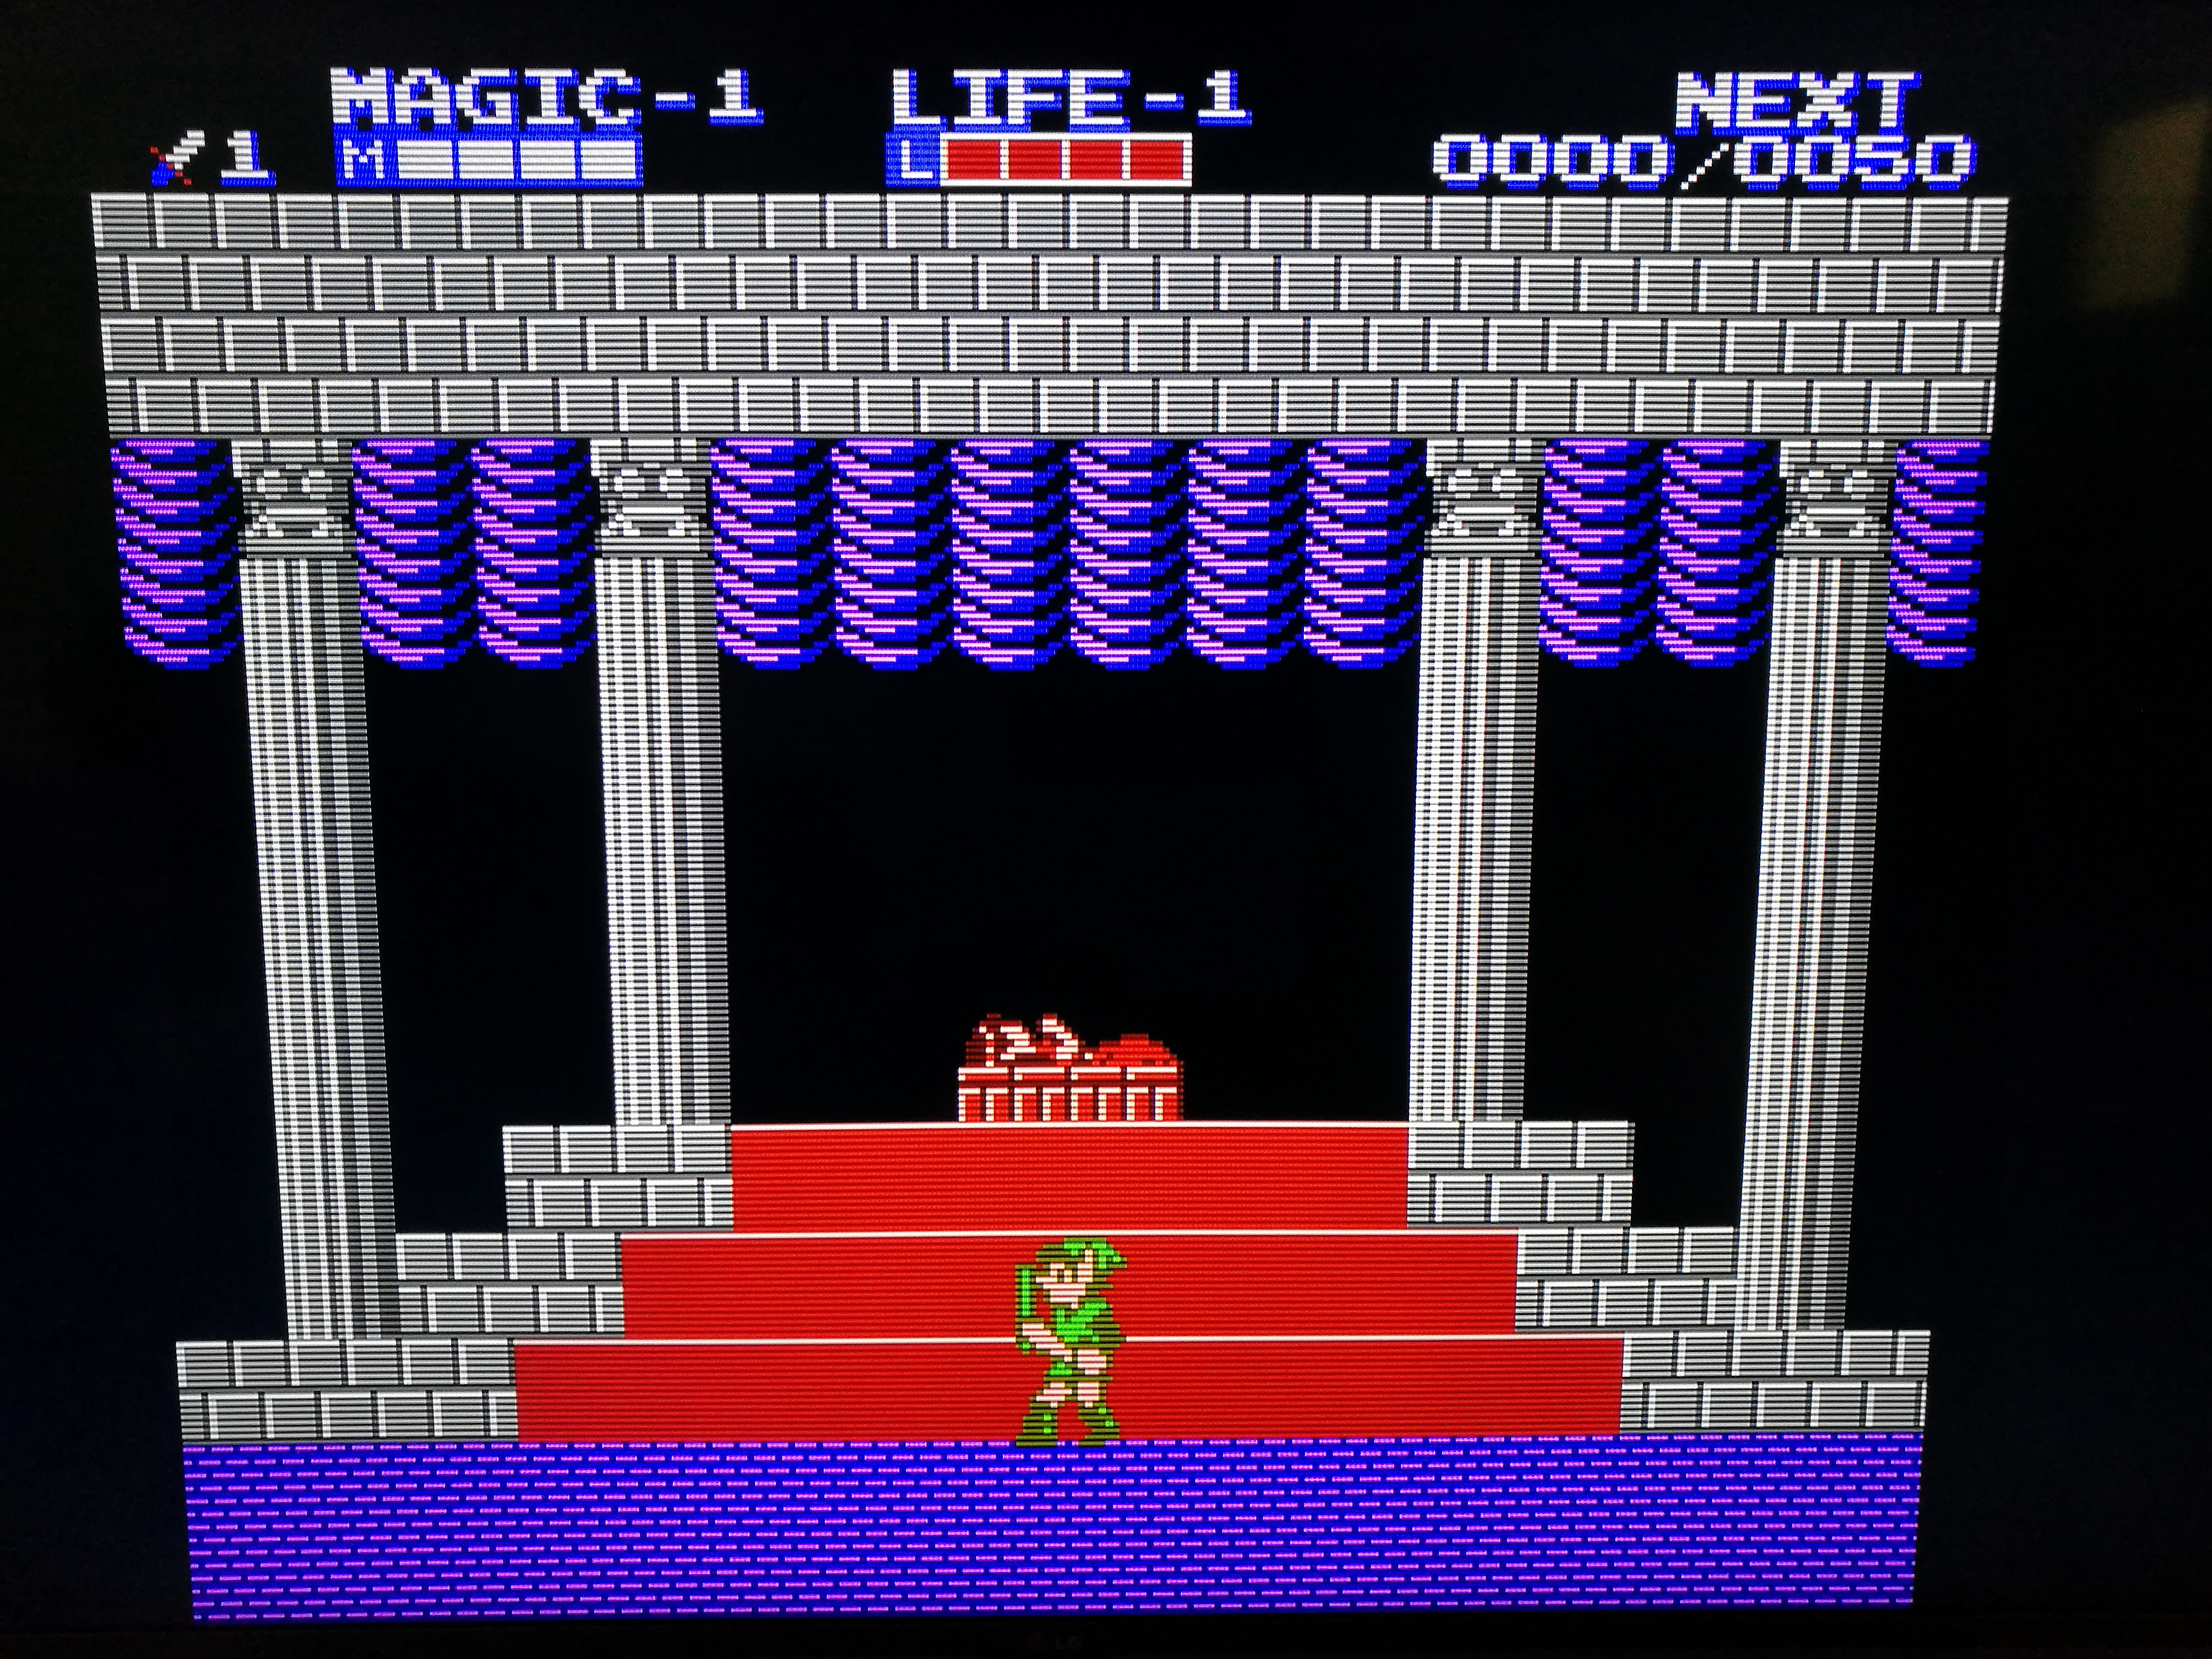
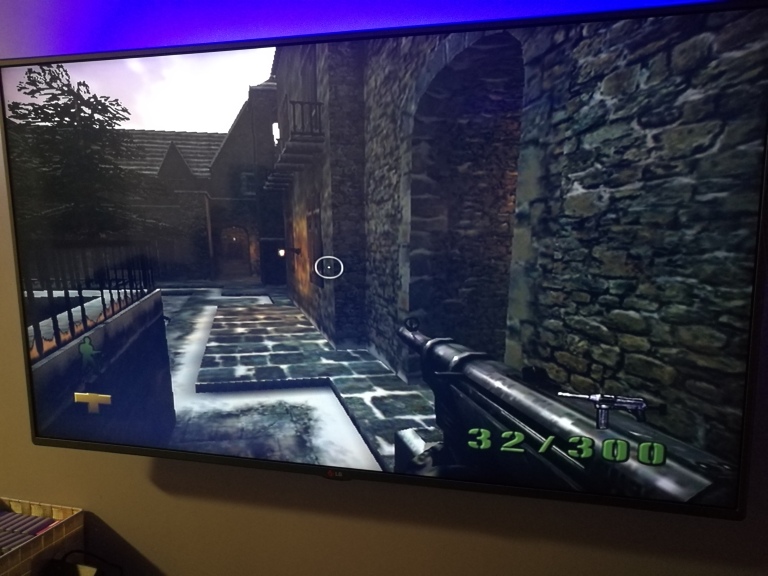
Turns out it worked. And it looked incredible, especially with scanlines turned on in the OSSC settings. I tried each console, and every single one worked flawlessly. I’ve heard people have had mixed issues with the SNES, but I’ve had absolutely no issues with mine – and I’ve been using this thing extensively for two months now. And I haven’t had to mess with the settings at all other than to enable scanlines and line tripling. It’s literally plug and play, which is a huge contrast to the configuration hell that was the Framemeister.
You can see a selection of images I’ve taken below – bear in mind these were all taken via my smartphone camera and as such the brightness/white balance is slightly off.


If you’ve been reading the captions of the images above, you may have noticed some images are in 1:1 ratio mode. What’s 1:1 ratio mode? Well, on the OSSC menu it’s this:
If you’re lucky enough to have a TV like mine that can handle line tripling (mine handles seemingly every timing and resolution up to 1080p I can throw at it), you have access to the 1:1 scaling mode. This displays the NES/SNES in their native ratio. Upscaled, it looks absolutely flawless and is my go-to mode for NES gaming. There’s also a 320p mode that fits the Mega Drive. Elsewhere in the same menu, you can select 16:9 mode (for widescreen games) and standard 4:3 for everything else.
Further in the menu are options for 480p and higher resolutions, which are useful for those who have a Gamecube, PS2, Dreamcast or XBOX hooked up. You can either pass them through without any alteration or enable deinterlacing for 480/576i sources – or you can enable line doubling!
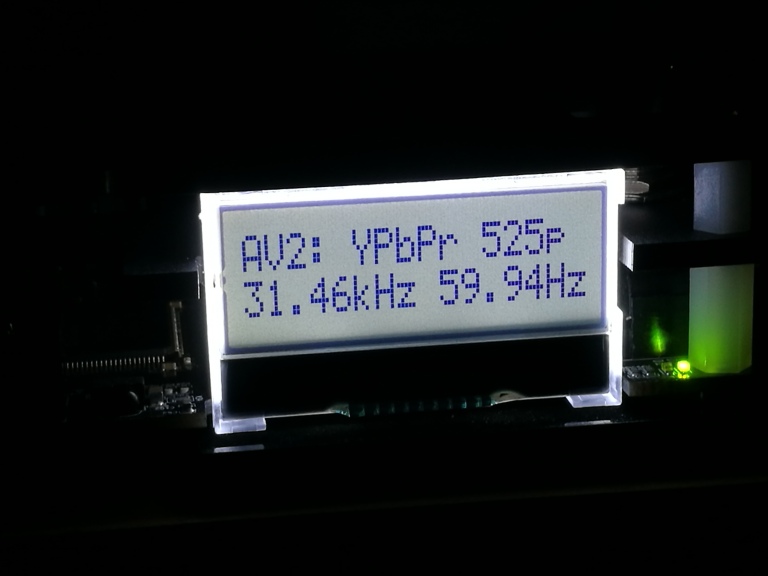
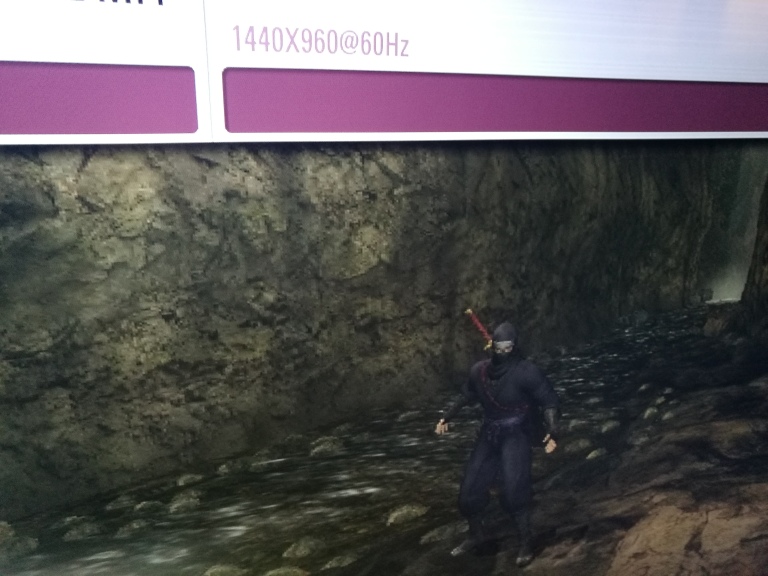
As seen above, this works nicely on my set. XBOX games are displayed in a crisp 960p resolution, and look as clean as they could possibly be. Dreamcast games also look gorgeous. This also works beautifully for games such as Saturn Bomberman that utilise a higher resolution mode. When playing 10 player battle, the field switches to a much larger one that requires a higher resolution. The OSSC automatically displays it in widescreen and line doubles it to 960p! And unlike the Framemeister, resolution switching takes a mere second at most.
So after two months of daily use on a variety of consoles, what’s my verdict? It’s quite simply the best gaming related purchase I have ever made. Everything works flawlessly, and exactly as it should. My consoles look fantastic, and there’s absolutely zero lag. It’s even enabled me to hook up the xbox and dreamcast without extra hardware, along with making them look better too! I honestly cannot recommend the OSSC enough – Marqs has done an astonishing job. It’s a must for any serious self respecting retro gamer, and the only device that has come close in my 20+ years of gaming to replicating the feel of playing on a CRT.
Like I said before however, results depend on your display. I’ve spoken to people on various boards and Reddit who have received their OSSC only to find their TV does not support line triple mode (480p mode works, but it’s nowhere near as pretty). You also need the RGB compatible hardware to back it up, as composite is obviously not supported. It’s also made me incredibly wary of upgrading to another TV…I’ve ruled 4k out entirely until I am sure the OSSC will work with the display I buy.
But when it works, it works without fault. It works perfectly for me, and with any luck it will for you too. Recommended.

Nice review, question on the x3 mode for Component.. do you find it’s “grainier” than the 480p passthrough mode? I find my original xbox is sharper at X3, but jaggier overall around the edges..
LikeLike
Yeah, I do find that but it’s on a case by case basis it seems.
With dreamcast, for example, I usually stick to x1 passthrough with scanlines.
LikeLike
Which TV model you have?
LikeLike
LG 55LB561V
Cost me £399.99 in July 2015 and it’s still going strong. Amazing set – and it works flawlessly with the OSSC. Bear in mind I’m running the DVI/HDMI from the OSSC to the TV through a Sony 5.1 amp, a model STR-DH550 which may be having an impact on what’s put through to the display.
LikeLike
i noticed some ghosting in your photos, do you feel this is noticeable to your eyes? since you notice 1-1.5 frames of lag, i find it curious if what was clearly 3 frame overlapping with ghosting in some pics is acceptable to you – assuming it’s not just an artifact of the shutter speed your phone camera chose to compensate for the darkness of course!!
LikeLike
It’s my phone camera – I’ve not got great lighting in my living room and had to drop down to 1/30 shutter speed in some shots!
LikeLike