I recently bought an MVS MV1C for a decent price. I already own an MV1FS, but it’s kinda large – and the MV1C is significantly smaller:

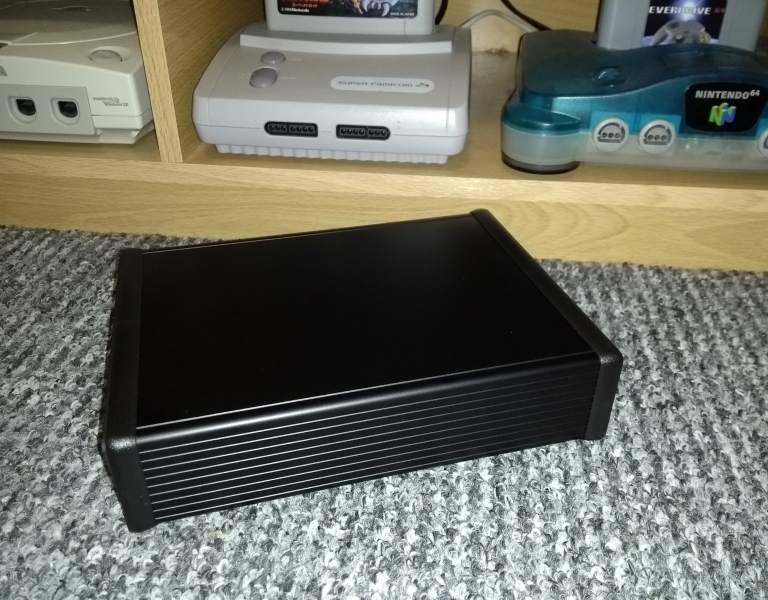
I was planning on having an enclosure built out of wood, but I since changed my mind and decided to go with this aluminium enclosure by Hammond (http://www.hammondmfg.com/1455.htm 9), specifically the black model 1455T2201BK which is a fantastic fit for the board. You can see the red variant used as a CMVS enclosure here: http://www.mmmonkey.co.uk/neo-geo-mvs-mv1c-consolisation-cmvs/ 6
I ordered it from farnell and it arrived the next day:
I quickly hooked up 5v and video the other day, just to check if the neogeo board worked – and it did:

And then I ordered all the parts:

My first thought was, rather than hooking up the RGB lines straight to the video output, I’d be doing it correctly by dropping the 3v lines down to 0.7v and then feeding them through to the THS7316 amp (commonly used in SNES/N64 mods). This results in a perfect spec output, same as what the AES does with the same initial video. When building the circuit however, this didn’t quite pan out – so I ended up just using in-line resistors to drop the lines to the correct voltage. Ended up with correct 75ohm output, and it looks fantastic. so eh, whatever!!
I also decided to install a UniBIOS into the board. The UniBIOS is a homebrew replacement for the standard neogeo bios which allows it to function as either an MVS (arcade) or AES (home console), along with cheats and other additions. There’s an open source circuit called Neobiosmasta which allows the easy install of a unibios by latching directly onto the CPU and requires only a couple of wires of soldering to hook up. I’ve ordered the boards from oshpark as per usual and they were fabricated and dispatched to me within a week.
Now, the main objectives for this build were as follows:
- to function as a proper home console
- to not look crap
Building a decent enclosure is 99% of that, and I felt the aluminum hammond enclosure I chose would be a great fit. It was – but almost too much…I had barely any spare room once the board was inside as it literally slides in:

This is good in some ways, as it means the console will be as compact as it can be, and also that mounting it will be significantly easier. Bad in that cable management and socket locations will be significantly trickier.
Anyhow. I got the neobiosmasta boards from oshpark and built one for my console. It was fairly simple, I used a PLCC socket which latches onto the CPU and a standard dip socket for the unibios itself. Soldering the PLCC socket was easy enough – corners first, then drag solder the rest. I then lifted the relevant pins on the stock BIOS to bypass it then hooked up the two necessary lines to the neobiosmasta board I built:


Next was to get the enclosure sorted. Unfortunately I didn’t anticipate aluminium to be quite as difficult to work with as it was. A huge amount of drilling and filing – more time spent doing this than any other stage of the build. I first added the RGB, audio and power sockets at the back:


I then drilled and filed the two controller sockets and a hole for the LED in the middle at the front. This photo was before I finished the second port:

Next, I wired up the controller ports and verified both worked fine with my neogeo pad:

Now it was time to put it all together! I hooked up the power, rgb and phono sockets to the board and slid it in, using some risers to mount the PCB and ensure it kept in place. It was fiddly, especially fitting the controller ports – but it all worked out in the end:
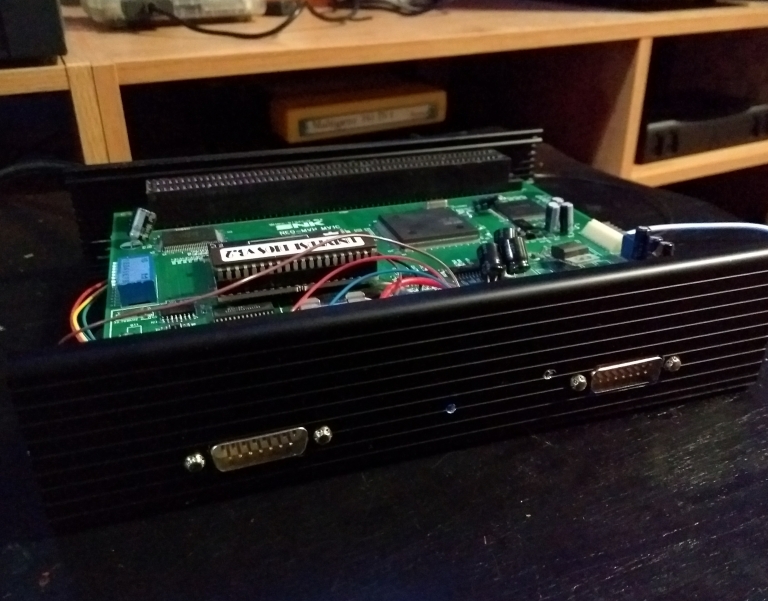


It was a very difficult fit. As you can see, there was very little room left:

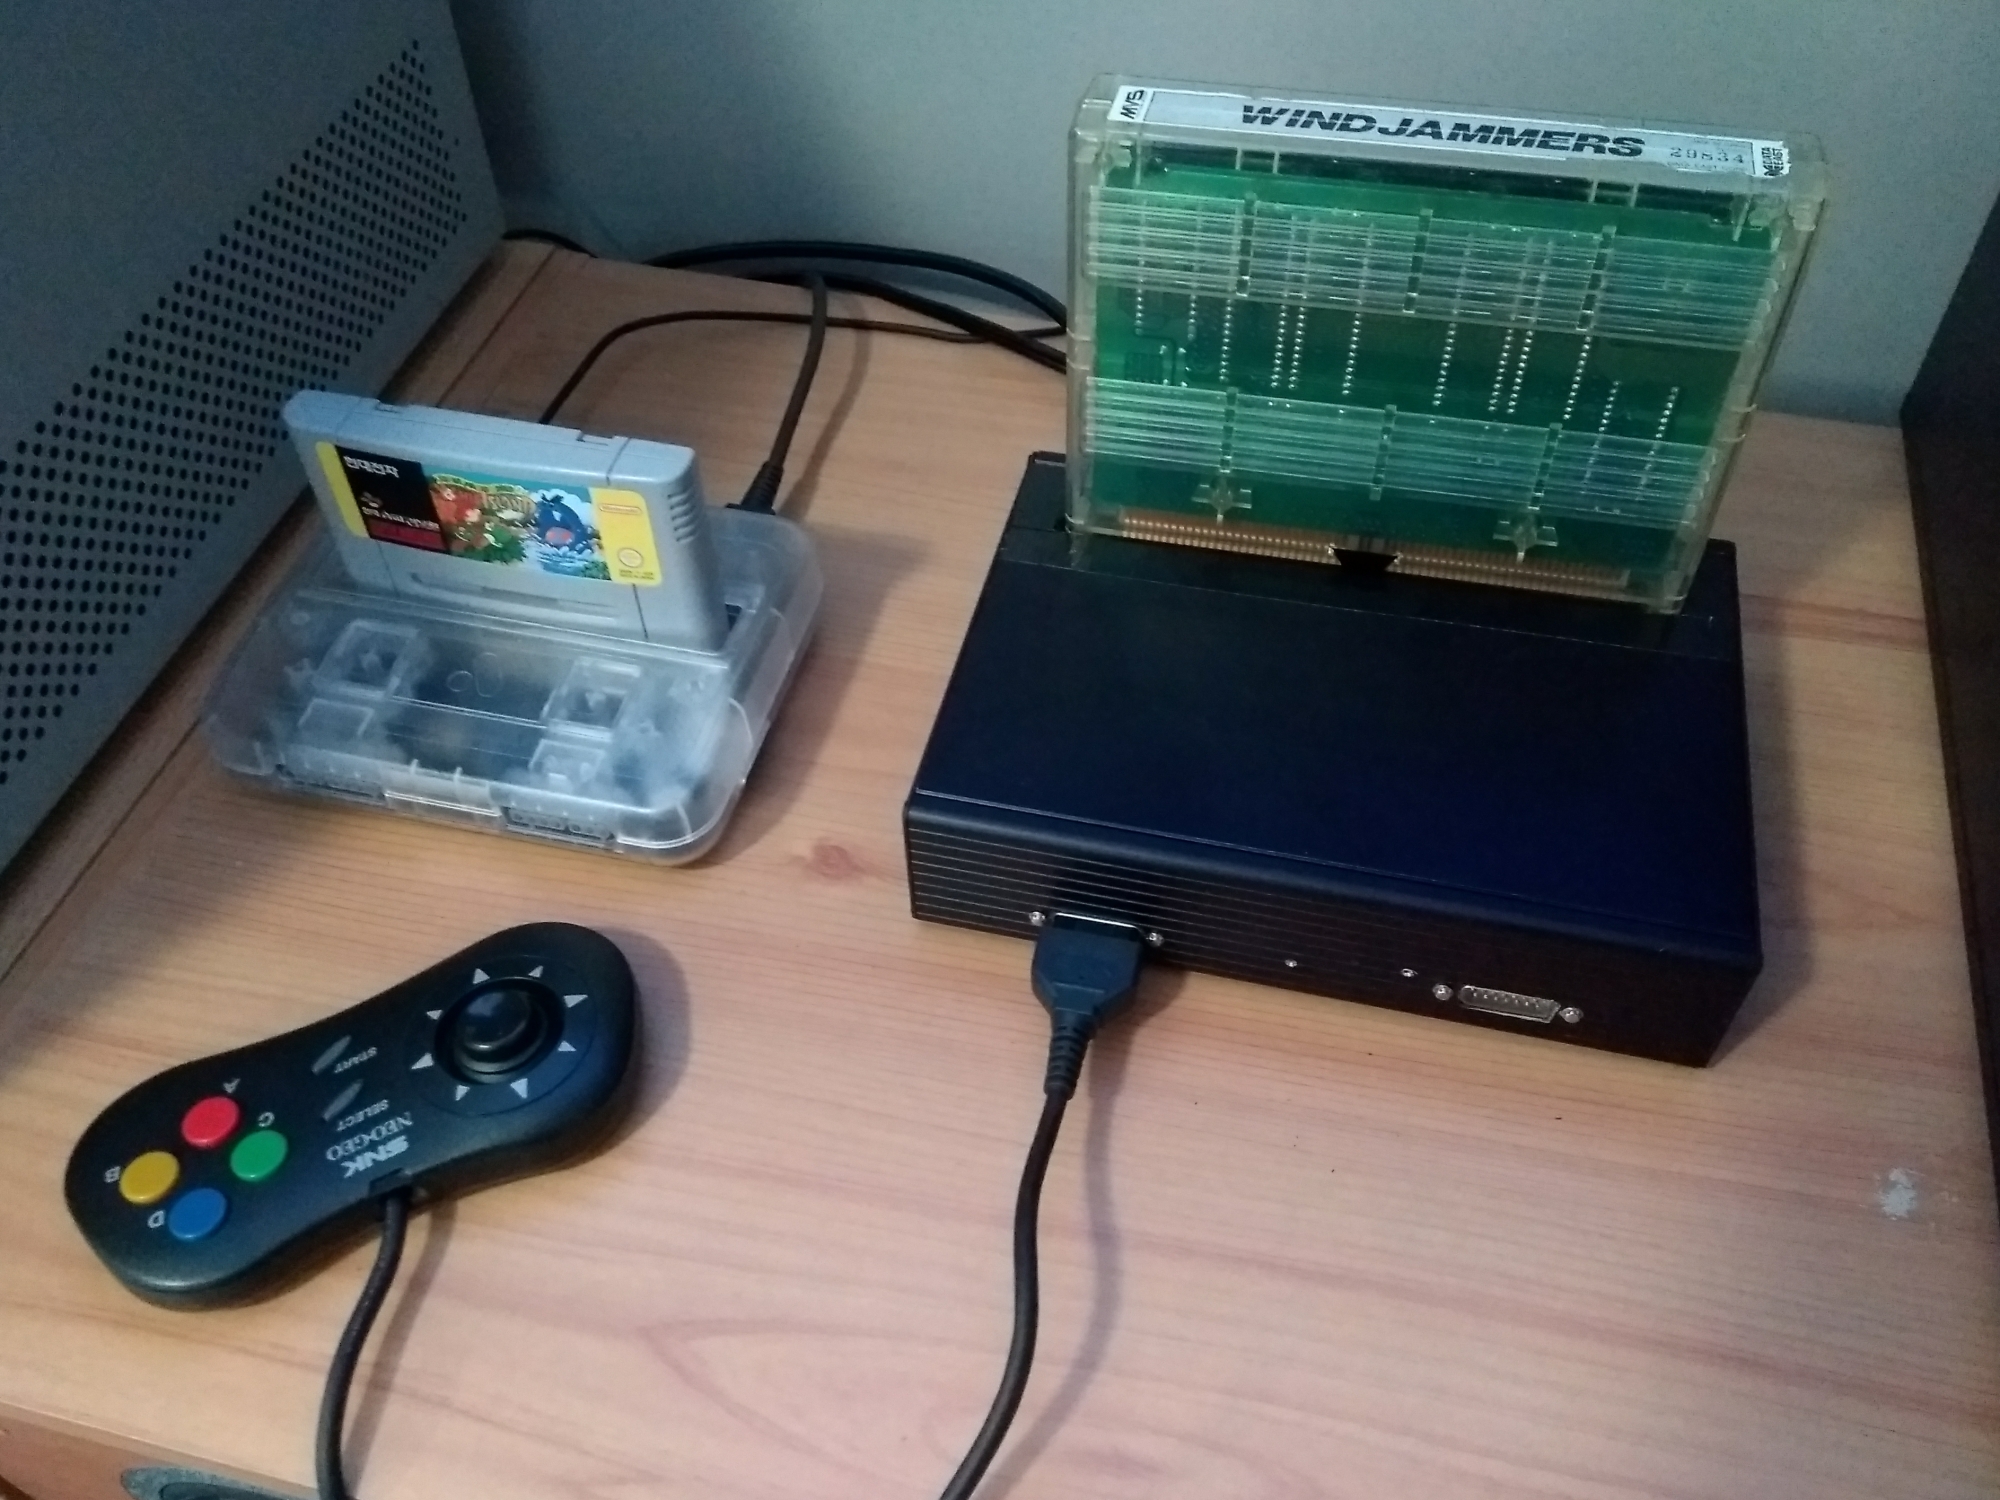
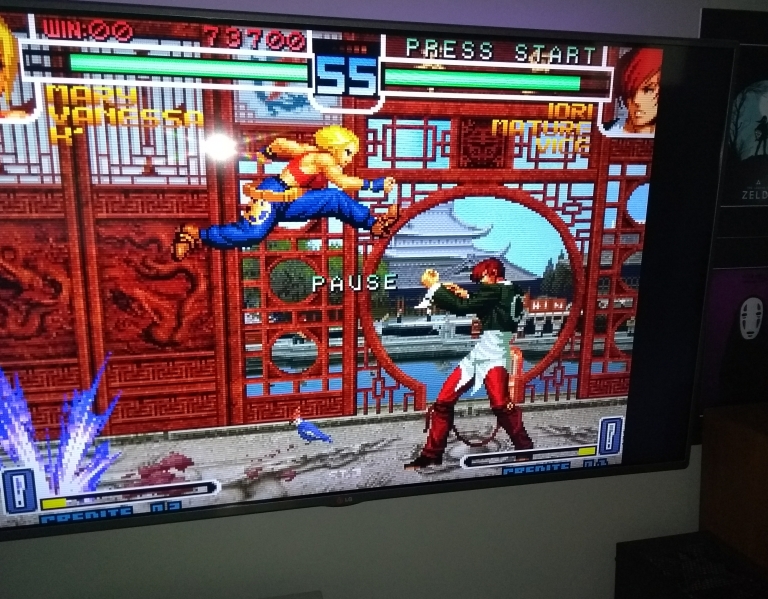
Lastly, I added the top cover and screwed it all together. It looks great! And the games sound and look fantastic via the OSSC. Heres a size comparison of the unit against my Super NT (which is really quite small) and a few gameplay shots:


What went wrong with the THS7316?
LikeLike
Basically, I was tired and short on time and couldn’t get the dropdown circuit working…so I skipped it. Turns out I was being stupid and wired it wrong. Last week I actually built it again, properly, and added it to the build. I’m making another CMVS so I’ll post an update then.
LikeLike
One more question, how did you do the cartridge slot? Also what were the measurements from the hole and how far from the back and side of the of the panel did you cut it?
LikeLike